-->
Showing posts with label re-purpose. Show all posts

Thursday, April 19, 2012

Repurpose: Hall Cabinet


 In my search for a small, slim profile cabinet/table for our entry way, I found this one at Salvation Army earlier this week for a mere $15. :)
Ugly, but workable...

I removed the hardware, sanded it down a little, and started painting.


I very much dislike painting furniture, and this was no exception. :P With the help of Pandora, I made it through though. :)


I spray painting the hardware black. Notice how I got them to stand up.. clothespins. ;)

In it's new home! :)


Ahh.. Much better than nasty looking gold!

Nice low profile. :)

Total cost: $20 approx. I bought paint for it, but only used less than a quarter of a $11 can.
Oh look.. it's me! ;)


Claire *loves* watching me and getting under foot when I'm doing projects. :P She's pretty cute, though.


Repurpose: Cupboard Door

This project has taken me forever to finish. I kept coming to a standstill, unsure of how I wanted to finish it. I finally did a couple of days ago, and it turned out so cute!

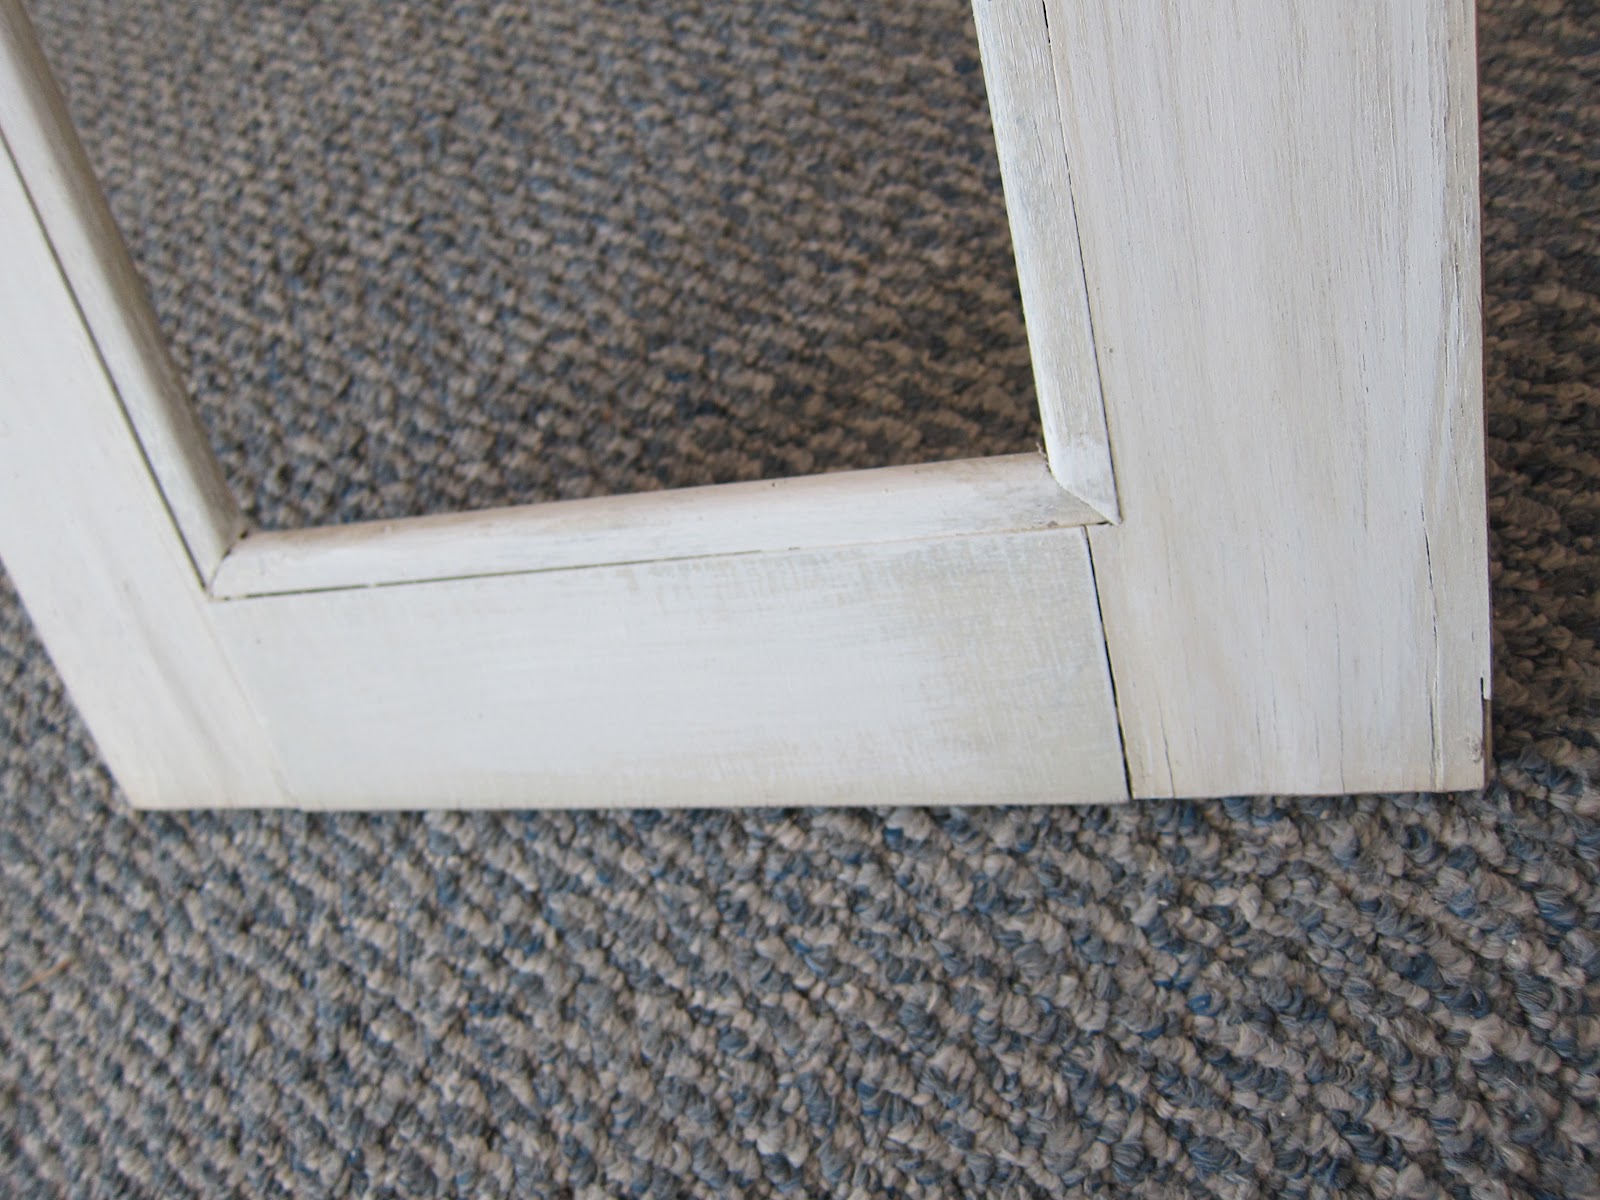
I found this old cupboard door out in our barn, the mirror was facing the wrong way, so I removed it, filled the hinge holes, sanded it, and painted it tan.


And then it sat for a month or so. :P While I was painting the ceiling in the great room, I had an idea to throw a little white paint on it, and distress the edges with a sanding sponge...


I bought a Martha Stuart stencil from Home Depot, and using a darker tan from our house paint, decorated it a little. :) I wanted to decorate it so I could use the mirror vertically or horizontally. 


Total cost: around $5, including the stencil, which I plan to use for other projects.

Monday, April 16, 2012

Jute Letters & Wall Decor

I love the look of jute-wrapped wall letters.. how cute is this, right?! However, they looked fairly simple, and I wasn't about to pay $20+ a letter.
Soo.. I purchased a roll of jute at Home Depot for 3.99, and wooden letters at JoAnn's for .99 each.


Just look at all that fun stuff!

I wrapped the letters with the jute, using hot glue occasionally to keep it secure.
The end result? Jute letters, for a fraction of the price! I used maybe a 1/4 of the jute per letter, so that's roughly $2 a letter!


I also bought some wood plaques for around $2 at JoAnn's, slapped some tan paint on 'em, and glued some wall decals I got for free on the front, and filled in the empty spaces on my hallway wall. :)


Mason Jar Soap Dispenser

I found this on the ever-inspiring Pinterest, of course. ;)
All you need is a clean, dry pint mason jar and a soap dispenser. I saved one off of a bottle I was going to throw away. I don't like having a big, ugly Dawn bottle sitting on my kitchen counter, so I whipped one of these up before company came on Saturday.

Drill or punch a hole big enough for your dispenser through the lid. My hubby helped me with this part, and it took him all of thirty seconds with a step bit to drill it. Watch for metal snags underneath, you may have to file them off.


Glue dispenser to the lid using E6000 glue. It says to let it dry for like 72 hours, but since when do I follow directions?


SO easy, and so cute! I love it! I want to make one again when I find a metal dispenser and use a blue mason jar.

Thursday, March 22, 2012

Thrifting Treasures

Thrifting. Probably one of my favorite activities, especially when I can find good deals! I stopped by our local Salvation Army a couple days ago, and was able to pick up a couple good deals, including a perfect coffee table for our great room! I had been keeping my eye out for one while shopping. It had to be under $20, in decent shape, and preferably dark cherry finish to match the other furniture we have so far. I was also hoping for some drawers.

I found this little beauty for $12! I was quite pleased, and after some wrestling we got it into the back seat of my little car, and it was mine!
I looked it up online when I got home (it still had an original sticker on it), and it looks like they run about $150 new. :D


When Jacob got home, he noticed the drawer tracks were on upside down! No wonder the drawers didn't work well. :P He took them all off and fixed that problem, and I spray painted the handles black. They were wood colored, but I wanted it to look a little more formal, and the black accents it well.

He is always so helpful! :)


I also found this:
 Which, after a couple coats of black spray paint, is now this:

I also finished my coasters, which will have their own post, so now I have a nice coffee table in my living room. :)


Sunday, January 15, 2012

Re-Purposing: Dressers

We found these dressers in our barn on our property last year, and I thought it was a shame for them to go to waste, so I went to work on them!
It was quite the scrubbing project, they were pretty filthy.


After they were washed, scrubbed, and polished, we brought them inside. Unfortunately, the already-sticking drawers were so swollen from the amount of water I used (oops...) and the temperature change, they wouldn't fit back in the dresser. Soo... hubby replaced the runners on all the drawers for me. :) They work wonderfully now! I removed all the old glass and replaced the knobs on the dresser side cabinets. The top pieces have all original handles.
I also lined the bottoms of the drawers with adhesive drawer liner. 

The dresser and smaller hutch fit very nicely into the nook we added in our room. I love it!

The larger hutch, which is 72" long, went on the other side of our bedroom.
Murphy's oil soap: half of bottle @ 0.88 per bottle
Runners: around $25
Total cost: less than $30, plus a couple hours :P


Mini Board

I found this cute little piece for $0.69 at Salvation Army, and after several weeks of it sitting on a shelf collecting dust, I finally figured out the best way to use it.
I took the spiral wire out from between the boards, covered the top piece a scrap of cardboard with fabric, and made a miniature ribbon board. 
Second one I bought a dry erase board at half off at JoAnn's Fabric for $0.50, cut it to size and glued it on. It included a mini marker, which I attached to the side using a scrap of ribbon hot glue gunned to the back in a loop. I also had to glue a strip of ribbon around the marker, so it wouldn't slip through the loop.
The last board I left as it was, a mini cork board. I mod podge'd fabric onto the tacks to dress it up. Finally, I attached them all using ribbon I had from gifts, and left over from wedding decor.
Total cost: approx. $1.00 including all supplies


Before

After! :)